
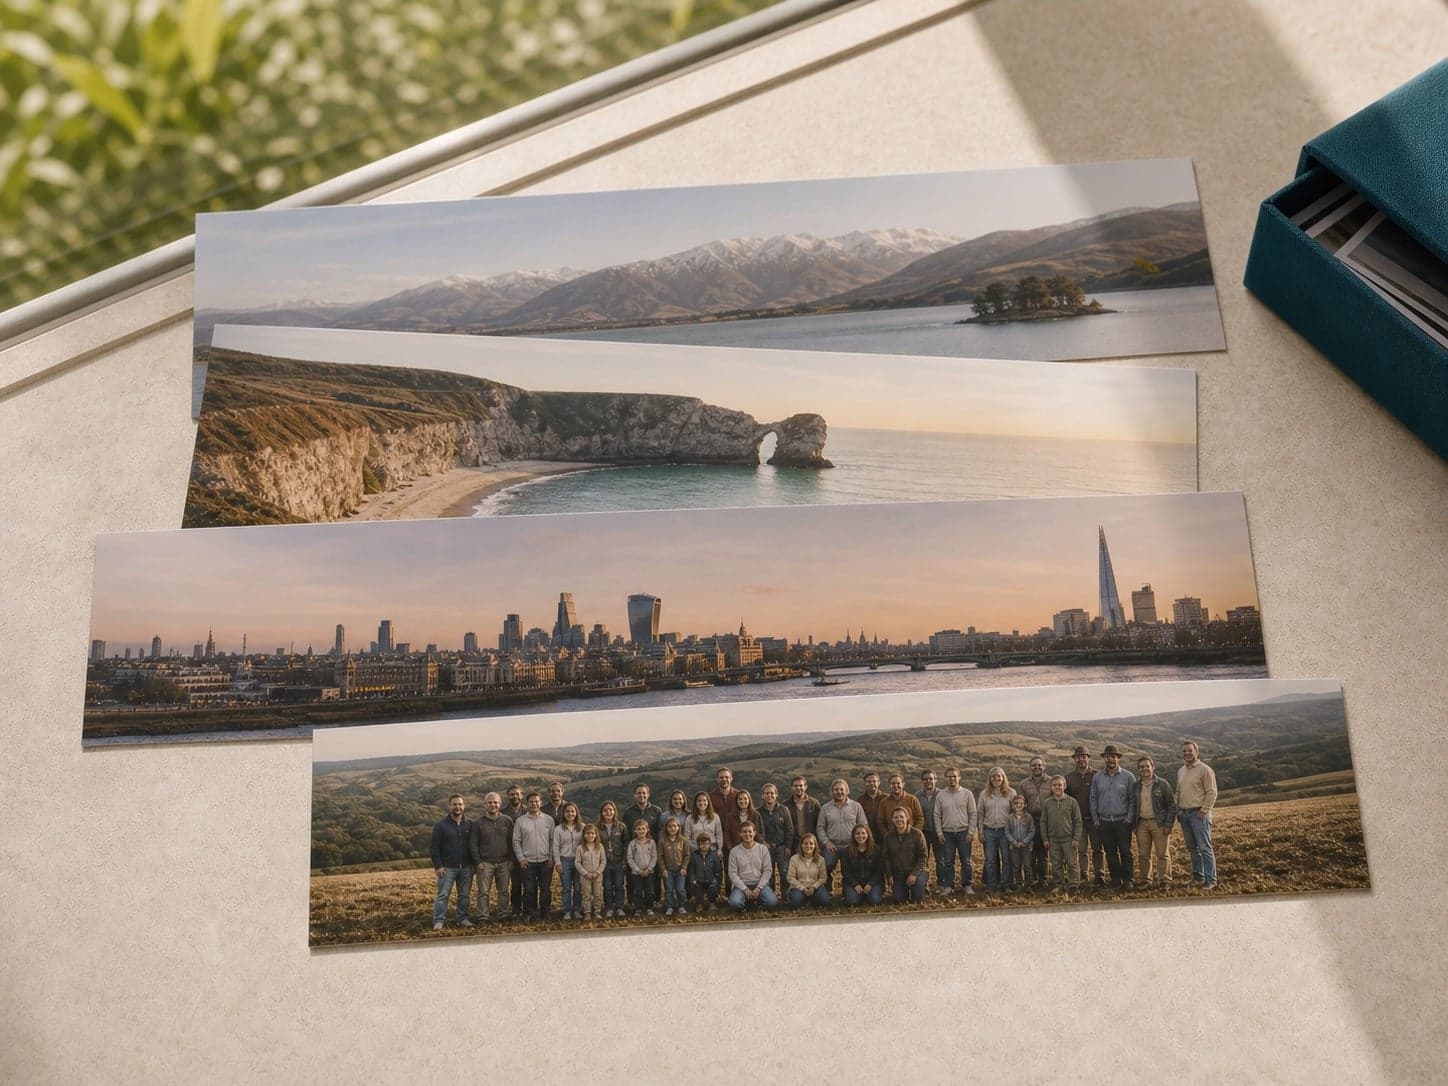
Panoramic prints work best when width is an important part of the photograph: a broad landscape, a long group, a city skyline or a deliberately wide phone panorama. The main decision is whether the image and paper have compatible proportions.
Choose a genuinely wide subject
A panoramic format should add value rather than simply remove the top and bottom of an ordinary photograph. Look for a scene with useful detail across the frame and enough space around the principal subject.
Compare image shape with print shape
Panoramic sizes are not all the same proportion. For example, an 8×4 and a 12×6 print share a 2:1 shape, while 12×4 is much wider at 3:1. A phone panorama can be wider still. Select a size whose shape is close to the image, then inspect the preview rather than relying on the size name alone.
Protect the ends of the photograph
Faces, buildings and text near the far left or right are vulnerable when the order tool crops to fill the paper. Leave breathing room at both ends, reposition the crop where possible or choose a less extreme panoramic size.
Crop or keep a border?
Filling the paper creates an edge-to-edge print but may remove part of the image. Fitting the whole photograph can introduce borders when the proportions differ. Neither is automatically wrong: choose the result that protects the subject and suits the intended frame.
Check resolution across the final size
A very wide print still needs sufficient pixel detail. Start with the original file, not a screenshot or messaging-app copy, and inspect distant detail at full size. Our resolution guide explains how file dimensions relate to print size.
Browse panoramic photo prints · Learn how to preview crop or fit