
Photo Zone home
Next Day DeliveryOrder withintoday
Black & White Photo Prints

Black and White Prints With Detail in the Highlights and the Shadows.

Prepare monochrome photographs for print, choose an appropriate finish and avoid flat greys, blocked shadows and accidental colour casts.

Glossy or LustreCrop PreviewUK Lab Checked
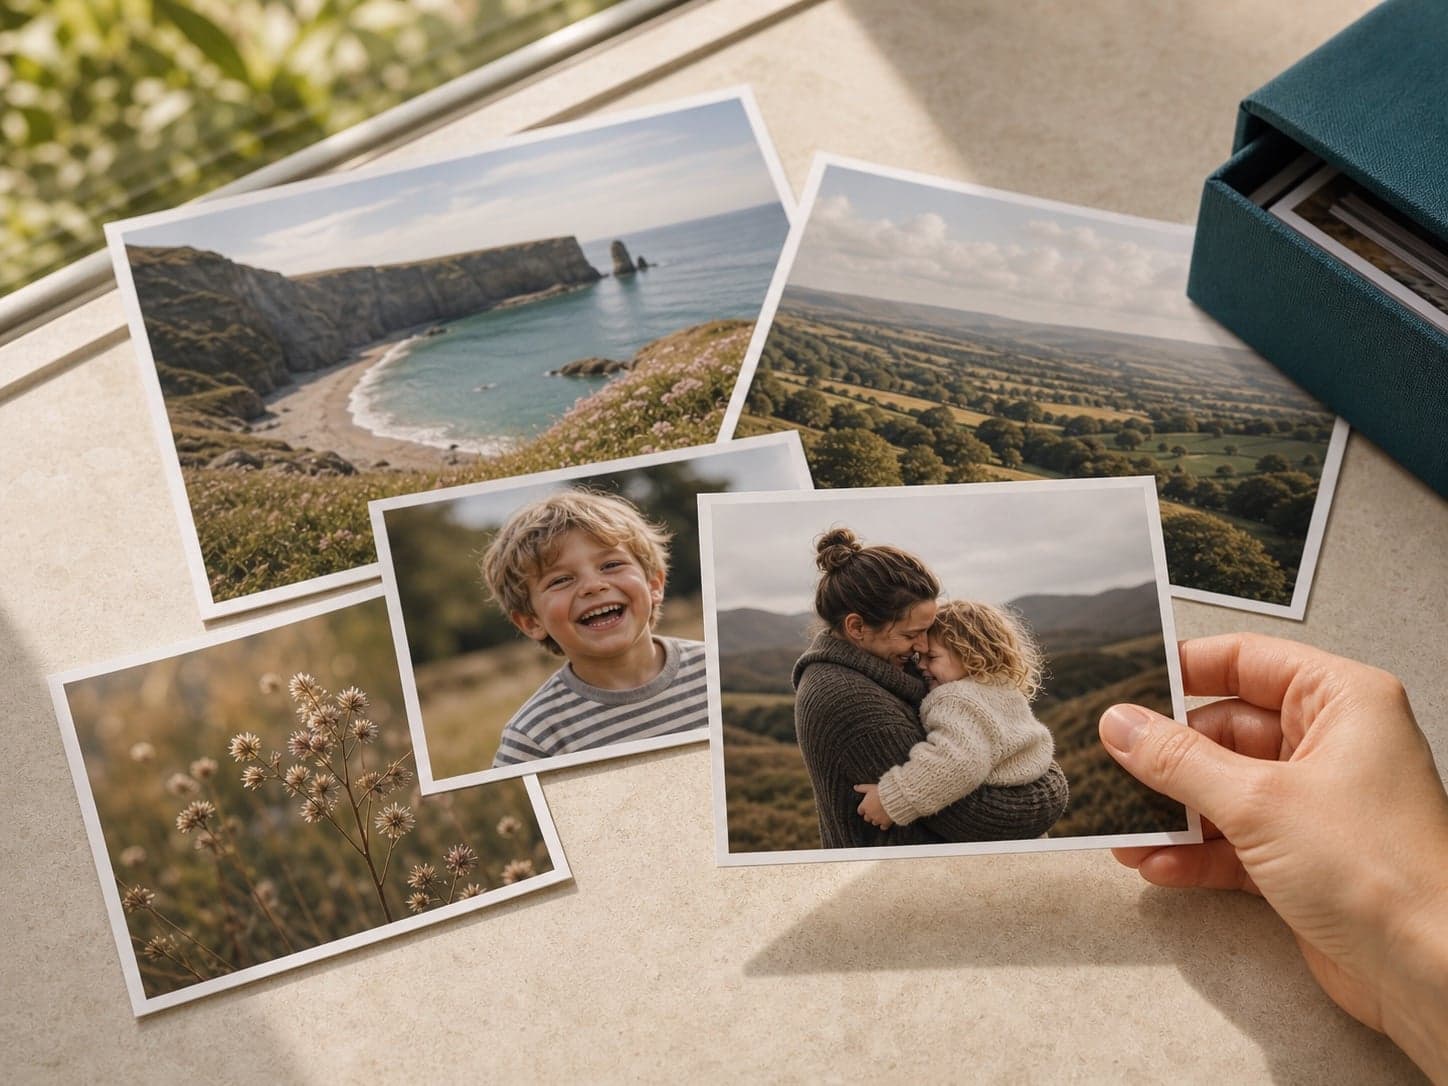
A collection of printed photographs arranged on a table

Choose the purpose first—album, gift, memory box or wall—then match the print format to the photograph.

Start with the purpose

One Gallery, Several Jobs.

A strong monochrome print is not simply a colour file with the saturation removed. The photograph still needs separation between similar tones, controlled highlights and enough resolution for the chosen size.

A calmer way to order

Edit First. Size Second. Upload Last.

A little structure before uploading saves duplicate prints and makes crop decisions much quicker.

  1. 01

    Convert with intention

    Adjust individual colour channels or contrast instead of relying on a one-click desaturation.

  2. 02

    Inspect both extremes

    Look for blank white highlights and solid black areas that have lost useful texture.

  3. 03

    Test before enlarging

    A smaller print reveals whether screen brightness has hidden a file that is too dark for paper.

Before you upload

Four Checks Worth Making.

  • Edit on a screen that is not set to maximum brightness.
  • Keep some detail in dark clothing, hair and shadow unless pure black is deliberate.
  • Export in sRGB and avoid adding artificial print-resolution numbers to a small file.
  • Review the crop again after conversion; tonal changes can shift the visual centre of the image.
Finish guide

Lustre gives monochrome photographs a calm, low-glare surface.

It is the usual starting point for portraits and display prints. Glossy can work well for high-contrast graphic images, but reflections are more visible in bright rooms.