
Photo Zone home
Next Day DeliveryOrder withintoday
Wedding Photo Prints

Turn a Full Wedding Gallery Into Prints You Will Actually Revisit.

A practical guide to wedding photo print sizes, finishes and crops—from guest snapshots to album favourites and statement enlargements.

Glossy or LustreCrop PreviewUK Lab Checked
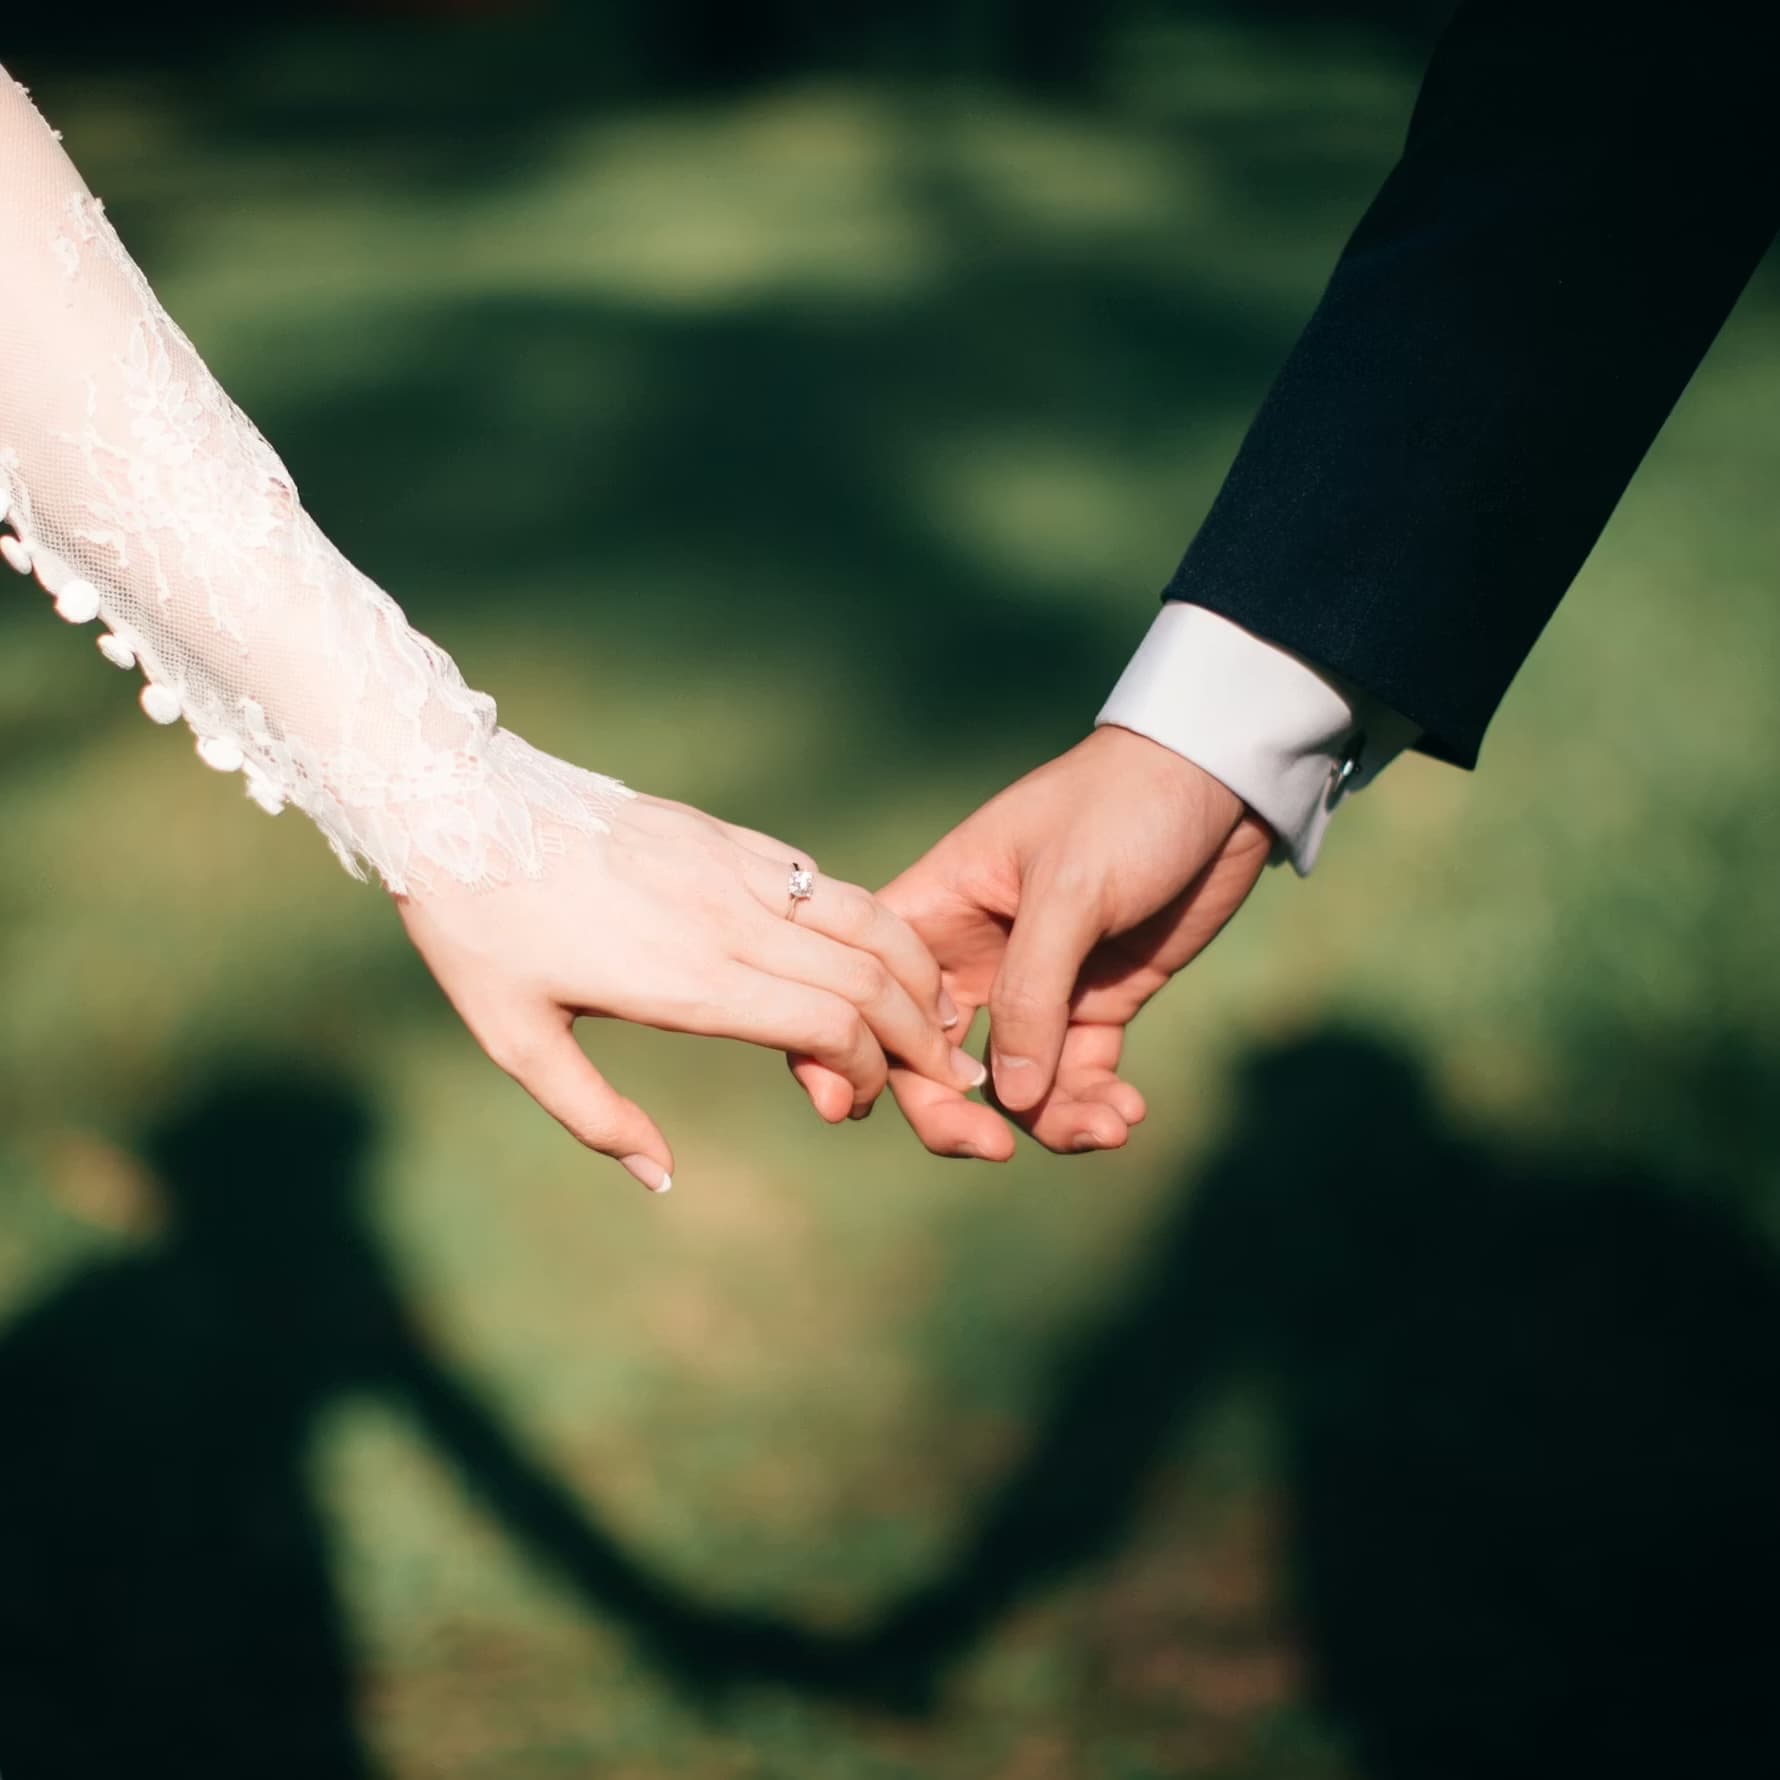
Newly married couple holding hands outdoors

Choose the purpose first—album, gift, memory box or wall—then match the print format to the photograph.

Start with the purpose

One Gallery, Several Jobs.

Wedding galleries are usually a mixture of formal portraits, wide ceremony scenes, phone photos and candid moments. Start by choosing what each group of pictures is for; the right format becomes much easier after that.

A calmer way to order

Edit First. Size Second. Upload Last.

A little structure before uploading saves duplicate prints and makes crop decisions much quicker.

  1. 01

    Make a short first edit

    Create one folder of definite favourites before comparing sizes or finishes.

  2. 02

    Separate groups from portraits

    Wide group photographs often need a different aspect ratio from close portraits.

  3. 03

    Print a small test set

    For a large gallery, test skin tones and exposure with a handful of representative images first.

Before you upload

Four Checks Worth Making.

  • Use the original photographer downloads where possible, not social-media copies.
  • Leave comfortable space around heads, veils and bouquets in the crop preview.
  • Keep colour and black-and-white versions in separate folders to avoid duplicates.
  • For group photographs, zoom in and check that every face remains sharp at the chosen size.
Finish guide

Lustre for albums and display; glossy for punchier colour.

Lustre reduces reflections and handles frequent viewing well, which makes it a dependable wedding default. Glossy gives colour extra brightness and suits smaller prints that will be kept behind album sleeves.