
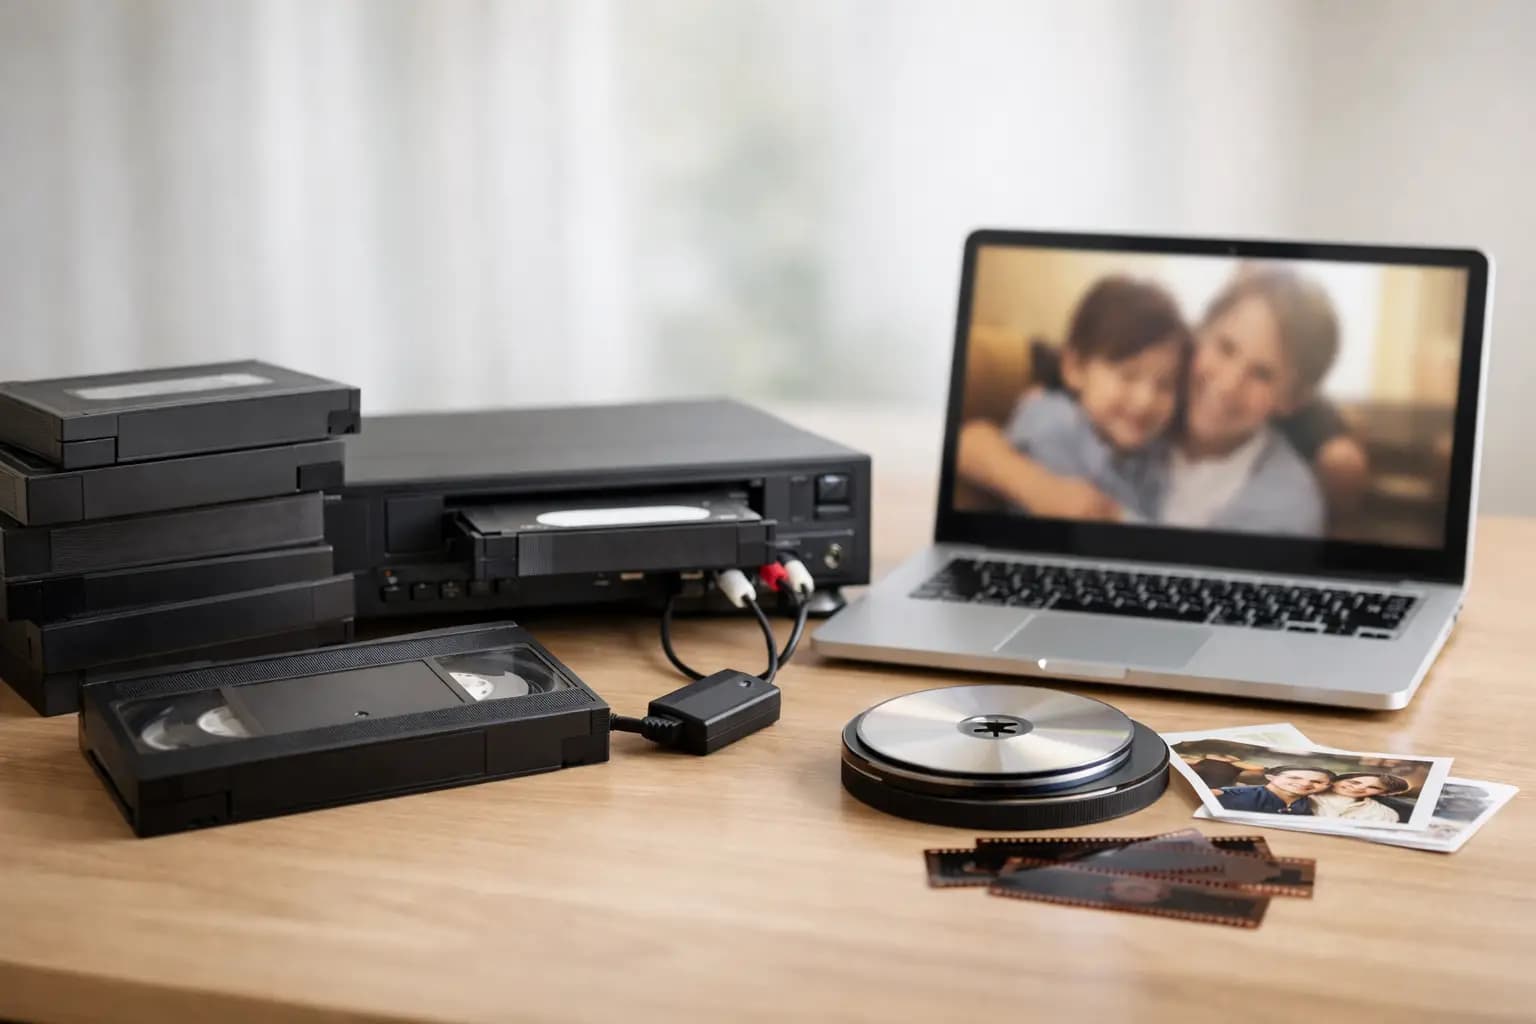
A VHS tape can look perfectly fine on the shelf while the footage inside becomes harder to play each year. If you are wondering how to transfer VHS tapes, the best time is usually before a tape starts showing obvious faults. The magnetic coating, plastic cassette and the machines needed to play it all age, and a failed playback can put one-off family recordings at risk.
Transferring tapes creates a digital copy that is easier to watch, share and store. It also means you are not relying on an ageing video player for birthdays, school plays, weddings, holidays and everyday moments that were never recorded anywhere else.
Why VHS tapes need transferring sooner rather than later
VHS was designed for home recording, not permanent archive storage. Over time, tapes can develop mould, become brittle or lose picture and sound quality. Heat, damp, dust and repeated playback can all make matters worse. Even a tape stored carefully in a cupboard may be 20, 30 or 40 years old by now.
There is also the practical problem of equipment. Working VHS players are becoming less common, and some machines can damage delicate tapes if their internal parts are worn or dirty. A tape that plays poorly today may be more difficult to recover later.
A digital transfer will not turn a soft or grainy original into modern high-definition video. It does, however, preserve the best practical version of what is on the tape and gives you copies that can be watched without further wear on the original.
How to transfer VHS tapes: choose DIY or a specialist service
There are two main ways to transfer VHS tapes. You can do it yourself using a VHS player and video capture equipment, or use a specialist transfer service. The right choice depends on the number of tapes you have, their condition, your available time and how comfortable you are with older technology.
A DIY transfer can suit someone with a working, clean VHS player and a small number of tapes in good condition. You will need a capture device that connects the video player to a computer, plus software to record the footage. Most VHS players use SCART or composite connections, commonly the yellow video plug with red and white audio plugs. Some newer computers may also need an adaptor.
The process is straightforward in principle: connect the player to the capture device, connect the device to your computer, press record in the software, then press play on the VHS tape. The transfer happens in real time, so a two-hour tape takes around two hours to capture before allowing for setup, checking and saving the finished file.
For valuable, damaged or mouldy tapes, a specialist service is often the safer option. A trained operator can assess playback issues, use suitable equipment and monitor the recording. This is particularly helpful where tapes contain irreplaceable footage or where you have a box of family videos to work through.
Photo Zone offers VHS transfer as part of its specialist photo services, providing a practical route for customers who would rather hand over the technical side and receive a usable digital copy.
Check each tape before you play it
Do not put every tape straight into a player. A quick visual check can prevent avoidable damage, especially if the cassettes have spent years in a loft, garage or shed.
Look for four warning signs before playback:
- White, grey or fuzzy patches visible through the cassette window, which may indicate mould.
- A warped, cracked or damaged cassette shell.
- Loose, creased or snapped tape visible inside the cassette.
- A strong musty smell, moisture marks or evidence of previous water damage.
If you spot mould or physical damage, avoid playing the tape in your household VHS player. Mould can spread to the machine and other tapes, while damaged tape may catch or tear during playback. Put the cassette aside and ask a specialist service about the available options.
Tapes that appear clean should still be handled gently. Hold the cassette by its outer case, keep food and drinks away from the equipment, and never force a tape into a player. If the machine begins chewing the tape, making unusual noises or repeatedly stopping, switch it off rather than trying to pull the cassette out.
Pick a digital format you will actually use
Before starting a transfer, decide how you would like to receive and store the footage. A USB is convenient for keeping a physical copy and playing videos on many computers and smart televisions. A digital file is useful for creating backups and sharing selected clips with relatives.
MP4 is usually the most practical file format for home use because it works on most modern devices. It is compact enough for everyday storage while retaining good quality for standard-definition VHS footage. If you are given a choice, ask whether the transfer is supplied in a commonly supported format and whether one tape will be saved as one file or split into separate recordings.
DVD can still be useful if a family member has a DVD player and prefers a familiar disc format. However, it is sensible to keep a digital file as well. DVDs can be scratched, players are less common than they were, and a file is easier to copy to another storage location.
For the most secure approach, keep at least two copies of your transferred videos. For example, store one on a USB or external hard drive and another on a computer or secure cloud storage account. The key is to avoid keeping the only copy in one place.
Prepare and label your tapes before transfer
A little organisation makes a large project much easier. Start by gathering all tapes in one dry, clean area and writing a simple inventory. You do not need to know the exact contents of every cassette. Even a note such as "Christmas, early 1990s", "Ben's school concert" or "unknown family tape" is useful.
Number each tape clearly and use the same number in your notes. If the label is lifting or unreadable, add a small removable label to the cassette case rather than covering important information. Include anything you know about the recording date, location or people featured. These details can be surprisingly difficult to remember once the tapes are transferred.
If you are using a service, keep tapes in their cases where possible and pack them securely for transport. Do not leave cassettes in a hot car or post them loosely in a thin bag. A sturdy box with padding helps prevent cracked cases and damage in transit.
Set realistic expectations for picture and sound
VHS has a distinct look: softer detail, lower resolution and occasional tracking lines are normal. Home-recorded tapes may also include colour fading, audio hiss, dropped frames or recordings that start and stop at unexpected points. These are usually characteristics of the original recording, not necessarily a fault with the transfer.
The condition of the tape matters, but so does the quality of the original camera and the VHS player used to record it. A professionally recorded tape may look relatively steady, while a well-loved home video might have visible noise. A careful transfer aims to capture the footage faithfully, rather than apply heavy processing that changes faces, colours or the feel of the original moment.
If a tape contains several recordings, allow time to review the finished file. You may find forgotten footage after the advertised programme, or a second recording after a period of blank screen. Watching through once also lets you confirm that important sections have transferred correctly.
What to do with the originals afterwards
Keep your VHS tapes after transfer if you have the space, particularly until you have checked the digital files and made backups. The tape remains the original source, and future recovery methods may be able to improve on a difficult transfer if technology changes.
Store cassettes upright in their cases in a cool, dry room away from direct sunlight, radiators and damp. Avoid lofts, garages and sheds where temperature and humidity can vary sharply. Keep them away from strong magnetic sources, although ordinary household electronics are less of a concern than poorly stored, damp conditions.
Once your files are safely backed up, you can decide whether to retain every tape or keep only the ones with personal value. Many families find that digital copies make old footage more likely to be watched, rather than left in a box for another decade.
Start with the tapes you would be most upset to lose. A single afternoon spent identifying those recordings can be the step that keeps family memories available for children, grandparents and future family gatherings.