
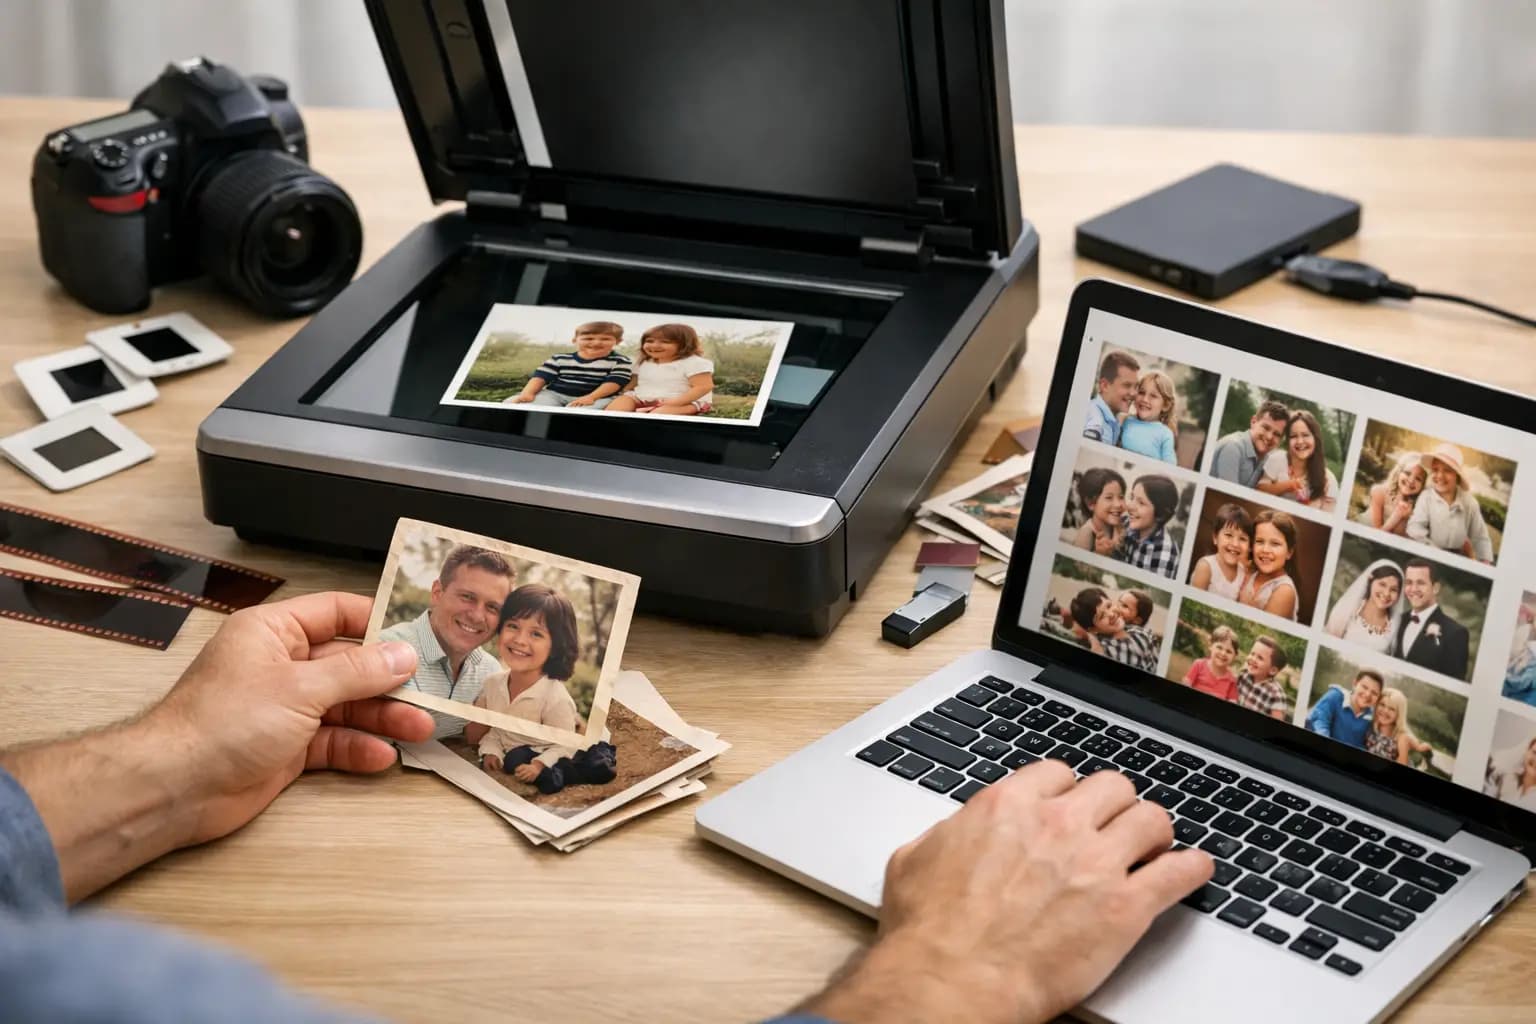
A faded print in a kitchen drawer can last for decades, right up until it sticks to another photo, curls at the corners or disappears in a house move. If you're wondering how to digitise family photos, the best time is before damage gets worse. A clear digital copy gives you a safer backup, makes sharing easier and lets you turn old favourites into fresh prints, albums or gifts without handling the original every time.
Why digitising family photos is worth doing
Most family photo collections are a mix of formats and conditions. You may have glossy prints from the 1990s, older black and white snapshots, studio portraits, negatives, slides and the odd picture tucked into an album with ageing adhesive. Each type needs slightly different handling, but the reason for digitising them is simple. Once scanned, they are easier to protect, sort and reprint.
Digitising also helps if several family members want copies. Instead of passing one delicate original around, you can save the file once and print it again whenever needed. That matters for milestone photos such as weddings, school portraits and pictures of relatives you may not have many images of.
How to digitise family photos without damaging them
Before you scan anything, take a little time to sort the collection. This part is not glamorous, but it saves time later. Separate loose prints by size and condition, and keep anything torn, stuck down or very fragile aside for more careful handling.
Use clean, dry hands and a clear table. Avoid household cleaning sprays, tissues or rough cloths. If a photo has loose dust on it, a soft microfibre cloth or gentle air blower is usually enough. If the print is bent, cracked or mounted in an old album, forcing it flat can do more harm than good.
For photos stored in magnetic albums or frames, it depends on the condition. Some can be removed safely. Others are better copied as they are, especially if the surface is lifting or sticking. In those cases, a professional scanning service is often the safer route.
Choose the right method for your collection
There are three main ways to digitise family photos: using a flatbed scanner at home, using a phone scanning app, or using a specialist photo scanning service. The right choice depends on how many photos you have, how important quality is and how much time you want to spend.
Flatbed scanner
A flatbed scanner is usually the best option for print quality at home. It gives you more control over resolution, cropping and colour, and it works well for standard photo prints, documents and some delicate originals. If you want scans that are suitable for reprinting, this is normally the strongest home option.
The downside is speed. Scanning hundreds of prints one by one takes time. It also requires a bit of file organisation, otherwise you can end up with a folder full of unnamed images that are hard to identify later.
Phone scanning app
A phone can work well for quick copying, especially for casual sharing or when you only have a small batch. Modern phones are convenient and surprisingly capable, but results depend heavily on lighting, glare and how steady your setup is. Glossy prints can reflect light, edges may distort and colours are not always consistent.
For snapshots you simply want to save, a phone may be enough. For archive quality or future enlargements, it is usually not the best long-term choice.
Professional scanning service
If you have large volumes, unusual formats or fragile originals, a professional service is often the most practical option. It saves time, usually delivers more consistent results and reduces the risk of damaging irreplaceable prints while trying to manage them yourself. This can be especially helpful for older family collections that include negatives, slides or damaged photographs alongside standard prints.
For many households, the real trade-off is not cost versus quality. It is time versus quality. Doing it yourself can be cheaper for a small set. For bigger archives, professional scanning is often the simpler and more reliable answer.
Best scan settings for family photos
If you are using a scanner at home, settings matter. Scan too low and the image may look fine on screen but disappoint in print. Scan too high and you create very large files without much real benefit for standard prints.
For most family photos, 300 dpi is a sensible minimum for general use and reprints at roughly the same size. If you may want to enlarge the image later, 600 dpi is a safer choice. Very small originals may also benefit from a higher setting. For larger prints that are already clear and sharp, going beyond that often adds file size more than useful detail.
Save important scans as TIFF if you want a high-quality archive file, especially for restoration work. JPEG is fine for everyday sharing and printing, and it keeps file sizes more manageable. Many people use both: one high-quality master file, then JPEG copies for day-to-day use.
Scan in colour, even for older black and white prints or sepia images. That preserves the original tone of the print rather than converting it into a flat modern black and white file.
Naming and sorting files properly
This is the part people skip, then regret later. A folder full of files called Scan001, Scan002 and FinalFinal2 is not much use when you're trying to find a picture for a birthday card next year.
A simple system works best. Use folders by family name, event or decade, then name files with a rough date and short description, such as 1987_Smith_FamilyHoliday_Blackpool. If you do not know the exact year, use an estimate like 1970s or Around1992.
It also helps to keep a separate folder for edited versions. That way your original scans stay untouched if you later crop, brighten or retouch them.
Should you edit old scans?
Usually, yes - but lightly. Basic correction can make a big difference. Straightening, cropping, removing dust marks and adjusting brightness often bring old images back to life without changing the character of the original.
Restoration is different. If a photo is torn, faded, stained or missing detail, careful repair can help, but heavy editing can also make a picture look artificial. The aim should be to preserve the image, not rewrite it. For treasured portraits or badly damaged prints, professional restoration tends to give better and more natural results than quick automatic filters.
How to store digital family photos safely
Scanning is only half the job. Once the files exist, they need backing up properly. If they only live on one laptop or phone, they are still at risk.
Keep at least two copies in separate places. For example, you might store one copy on your computer and another on an external hard drive. Some people also keep a cloud backup, which adds another layer of protection. However you do it, check the files now and then. A backup you cannot find or open is not much of a backup.
It is also worth keeping the original prints after scanning. Digital files are useful, but the physical photos still matter. Store them in a cool, dry place away from direct sunlight and damp, ideally in photo-safe boxes or sleeves.
When to use a photo lab instead of doing it yourself
Home scanning is perfectly workable for small, straightforward jobs. But some collections are better handled by a specialist. That includes large family archives, curled or delicate prints, negatives, slides, and photos you want restored or reprinted at high quality.
A photo lab can also save you from buying equipment you may only use once. If your goal is simply to protect the images, create clean digital copies and order fresh prints, it can be more efficient to hand the job over. For customers who want quality without complexity, this is often the quickest route from old box to organised digital archive.
At Photo Zone, for example, scanning and specialist photo services are designed for exactly that kind of practical need - preserving older images properly, then making it easy to print them again when you're ready.
How to digitise family photos and keep the job manageable
The biggest mistake is trying to do everything in one weekend. Most people have more photos than they think, and the job becomes frustrating if the process is too ambitious.
Start with the most important group first. That might be wedding photos, childhood pictures, or one relative's album. Finish one batch completely before moving on - scan, name, back up and store. Small progress is still progress, and it is far better than half-digitised folders spread across different devices.
If family members can help identify faces, places or dates, involve them early. That information is easiest to capture while the photos are in front of you, not six months later when the files have already been saved and forgotten.
Digitising family photos is really about making sure the next generation can see them without relying on luck, fading paper or a single old shoebox in the loft. Done properly, it turns a vulnerable collection into something you can protect, share and print again whenever you want.