
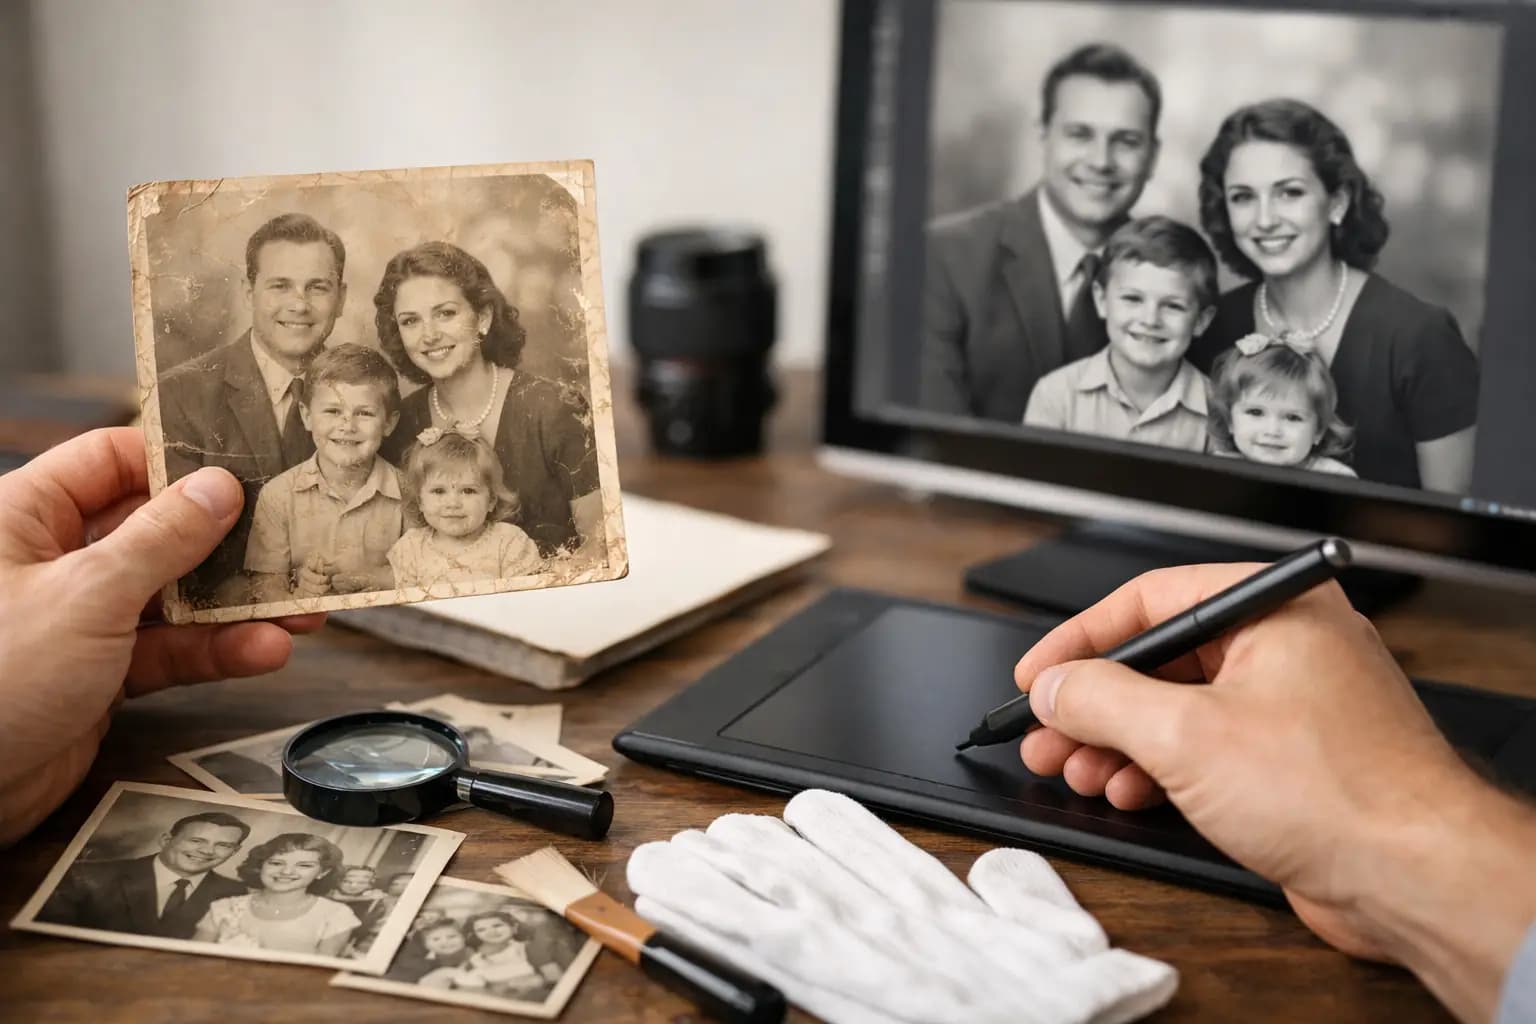
A faded photograph can be the only picture you have of a grandparent’s wedding, a child’s first day at school or a family holiday that still gets talked about years later. Restoring faded family photographs is not about making an old image look brand new. It is about protecting the detail that remains, improving what can be improved and creating a copy that the whole family can enjoy without handling the original.
Colour prints often fade gradually, so it is easy not to notice how much has been lost until you compare them with a better-preserved image from the same period. Black-and-white photographs can also lose contrast, develop marks or take on a yellowed appearance. The right approach depends on the condition of the photograph, how much detail is still present and what you would like to do with the finished copy.
Start by protecting the original photograph
Before scanning or editing, handle the original carefully. Hold it by the edges with clean, dry hands and place it on a clean, flat surface. Avoid bending curled prints back into shape, rubbing at stains or using household cleaners. A damp cloth, adhesive tape or vigorous wiping can remove the image surface as well as the dirt.
If a print is stuck to glass, an album page or another photograph, do not pull it apart. It may need specialist advice to avoid tearing the print or lifting the image layer. The same applies to photographs with mould, severe water damage, flaking surfaces or deep creases. A digital restoration can improve the scanned result, but it cannot safely repair physical damage caused by handling.
It is worth making a quick note of anything written on the back before you start. Names, dates, places and family comments are part of the history too. Scan the reverse separately if it contains useful information, especially where future generations may not recognise the people in the picture.
Scan at a quality that leaves room for repair
A good scan is the foundation of a good restoration. A mobile phone photograph may be suitable for sharing a quick snapshot, but it can introduce glare, shadows, uneven colour and distortion. For prints you want to restore and reprint, a flatbed scanner is usually the better choice.
For a standard-sized photograph, scan at 600 dpi where possible. This captures enough detail for sensible repairs and gives you more flexibility if you later want an enlargement. For a very small print, a higher resolution can be useful, but scanning at an extremely high setting will not create detail that is no longer there.
Save a master copy before making any changes. A JPEG is convenient for everyday use, while a TIFF file can be a better option for keeping an editable archival version because it uses less compression. If those choices sound more technical than you need, the key point is simple: keep one untouched scan and make adjustments to a separate copy.
Check the scan at full size before moving on. Look for dust, hairs, scanner streaks and areas where the image has lost detail. Some marks are easy to remove later; others may be part of the original photograph and need a more careful decision.
What fading can realistically be restored
Fading usually affects colour, contrast and the balance between light and dark areas. Older colour prints commonly shift towards red, yellow or magenta. Faces can look pale, skies may turn grey or pink, and green grass can lose its natural tone. With careful editing, much of that balance can often be improved.
The best restorations begin with restrained adjustments. Correcting the overall colour cast, restoring contrast and bringing back detail in faded shadows can make a major difference without changing the character of the photograph. It is tempting to push saturation and sharpening too far, particularly when working on holiday pictures or outdoor scenes. The result may look vivid on a screen but unnatural in print.
There are limits. If a face has faded to a featureless pale area, software cannot accurately recreate the original expression. If part of a print is missing, it may be possible to reconstruct a plain background, but a missing hand, eye or important object requires judgement. In those cases, a restoration should look believable rather than overly polished.
Black-and-white images bring a different challenge. The aim is normally to improve contrast while retaining the original range of greys. Turning every photograph into stark black and white can lose the softness that gives an older portrait its character. A gentle adjustment often produces a more faithful result.
Be cautious with automatic restoration tools
Automatic photo repair tools can be useful for a starting point, particularly for small dust marks or simple colour correction. However, they can also smooth skin, alter facial features, add false detail or change clothing and backgrounds. This matters most with heritage photographs, where accuracy is more valuable than a dramatic before-and-after effect.
Always compare the edited version with your original scan. Ask whether it still looks like the same moment, just clearer. If the answer is no, scale the changes back.
Repair marks without removing the photograph’s character
Small scratches, dust spots and minor creases can often be repaired digitally. The work is usually done by sampling an undamaged nearby area and carefully blending it over the mark. This is effective on skies, walls and plain backgrounds. It takes more care around eyes, hair, jewellery, handwriting and patterned clothing.
Not every mark needs to disappear. Fine cracking, slight paper texture or gentle ageing may be part of what makes a photograph feel authentic. Removing every sign of age can produce a flat, artificial-looking image. The better choice depends on how you intend to use it. A display print for the living room may suit a cleaner finish, while a family-history record may be better kept closer to the original.
If you are restoring a group of photographs from one album, try to keep the treatment consistent. Similar warmth, contrast and cropping will help the collection sit together in an album, framed display or set of reprints.
Choose a reprint that suits the image
Once the image has been restored, printing gives it a useful new life. Keep the original safely stored and use the reprint for framing, albums, gifting and sharing with relatives. This avoids further light exposure, fingerprints and wear on a photograph that may already be fragile.
A standard photo print is a practical choice for albums and family copies. For a treasured portrait, an enlargement can make a real impact, provided the scan has enough detail. Avoid choosing a very large size simply because it is available. A small, soft original may look better as a sharp 7 x 5 inch or 10 x 8 inch print than as a large wall display.
Paper finish also makes a difference. Gloss prints can give colour photographs extra punch, but fingerprints show more easily. Lustre or matt finishes are often a sensible option for older family photographs because they reduce reflections and give a more understated appearance. For a frame, leave a little space around the subject where possible rather than cropping too tightly.
A professionally produced copy also makes it easier to share one photograph across the family. Photo Zone can scan and restore treasured prints, then produce lab-quality reprints in the sizes you need, whether you are ordering online, posting photographs in or visiting a local store.
Store the original and the restored files properly
Restoration is only part of preservation. Store original prints in a cool, dry place away from direct sunlight, radiators, lofts and damp garages. Acid-free sleeves or albums are preferable to old magnetic albums, which can damage prints over time. Keep photographs away from rubber bands, paper clips and self-adhesive labels.
Your digital files need care as well. Save the untouched scan and finished restoration in more than one place, such as a computer and a separate backup drive. Label files clearly with names, approximate dates and locations while the information is still known. “Nan and Grandad, Blackpool, c. 1964” is far more useful than “scan003”.
You do not need to restore an entire family archive in one weekend. Start with the photographs people ask about most, the ones that are visibly fading or the images needed for an upcoming gift. A carefully restored and properly printed photograph can bring a familiar memory back into everyday view, while the original stays protected for the years ahead.