A strip of old film can hold far more detail than a faded print, but only if you scan it properly. If you are wondering how to scan old negatives, the main job is not just getting an image onto a screen. It is preserving as much sharpness, tone and detail as possible, so the photos still look right when you print, share or restore them later.
Why scanning negatives needs a bit more care
Negatives are small, delicate and unforgiving. Dust shows up quickly, scratches become obvious, and the wrong settings can leave you with flat colours, blocked shadows or files that are too small to print well. That is why scanning old negatives is slightly different from scanning paper photos.
The good news is that you do not need to overcomplicate it. For most people, the best approach depends on three things - what type of film you have, how many negatives you need to scan, and how much quality matters for the final use.
What you need before you start
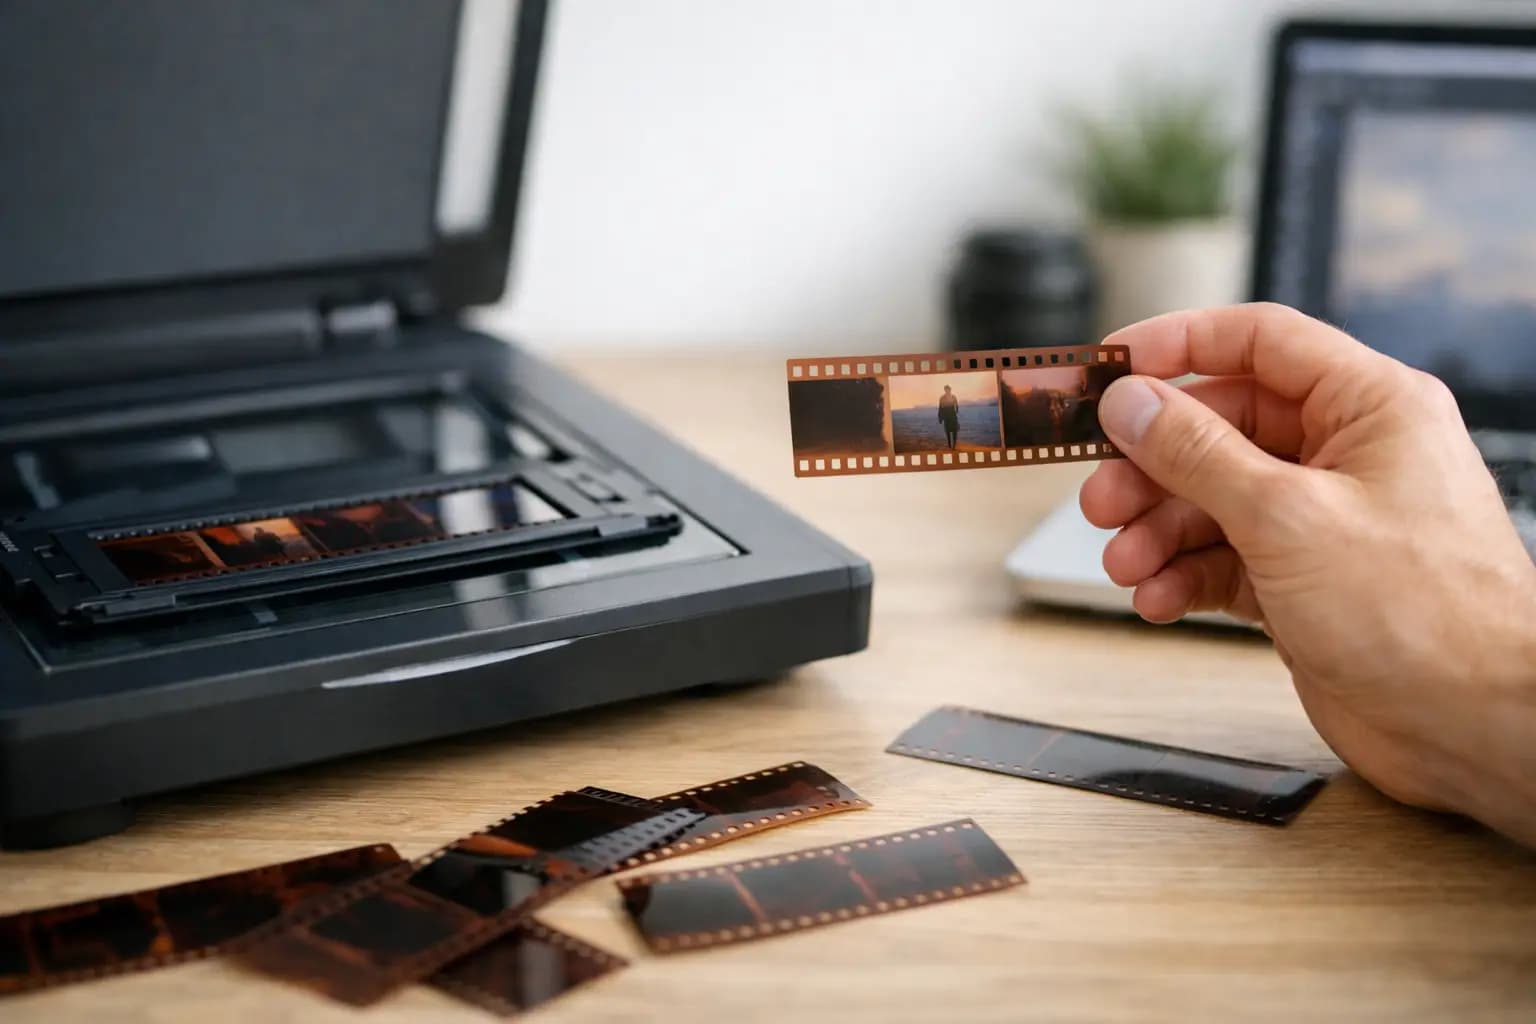
First, identify the format. Most family collections are 35mm negatives, but some are 120 medium format, old slides, or mixed strips from different decades. This matters because not every scanner handles every size well.
You will also want a clean, dry workspace and a soft touch. Negatives scratch easily, and fingerprints are hard to remove in a scan. Cotton gloves can help, although careful handling by the edges is usually enough.
At a minimum, you need a scanner that can handle film, a microfibre cloth, and a way to remove dust such as an air blower. Avoid household cleaners and tissues. They can mark the film or leave fibres behind.
The best ways to scan old negatives
There is no single method that suits everyone. If you only have a few strips and want a quick digital copy, a basic film scanner may do the job. If you want the best possible quality for enlargements or long-term archiving, a dedicated film scanner or professional lab service is usually the better choice.
Using a dedicated film scanner
This is generally the best home option for 35mm negatives. Dedicated film scanners are designed to capture detail from small originals, and they usually offer better sharpness and colour control than a flatbed. They also hold the film in place more accurately.
If your negatives are in reasonable condition and you want files that can be edited or printed later, this is the most dependable route. It takes more time than dropping strips into a quick-feed device, but the quality difference is often worth it.
Using a flatbed scanner with film holders
A flatbed can work well if it is made for photo scanning and comes with transparency holders. This is often a sensible choice if you have a mixture of prints, documents and larger film formats such as 120.
The trade-off is that flatbeds are usually less precise for 35mm. You may lose some crispness compared with a dedicated film scanner. For family archiving and standard-sized prints, that may be perfectly acceptable. For large reprints, it can be limiting.
Using a phone app or basic converter
These options are fast and easy, but they are usually the weakest in terms of colour accuracy, dynamic range and sharpness. They can be useful for quick sorting or sharing, especially if you just want to see what is on an old strip of film.
They are less suitable if the negatives are valuable, damaged, or intended for proper printing. Convenience is the advantage. Quality is the compromise.
Using a professional scanning service
If you have a large archive, fragile film, or want the best result without trial and error, a lab service is often the most practical option. This is especially true for medium format film, old colour negatives with fading, or collections that need consistent results across many strips.
A specialist service can save a lot of time and reduce the risk of damage. It also helps if you want files ready for printing or restoration rather than spending hours adjusting each scan yourself.
How to prepare negatives for scanning
Before you scan, take a minute to inspect the film. Look for dust, curling, fingerprints and scratches. A gentle puff from an air blower will remove loose dust. If the strip is very dusty, use a clean microfibre cloth very carefully and only on the edges where possible.
Do not force bent or tightly curled negatives flat. If they do not sit properly in the holder, the scan can look soft. Some holders manage curl better than others, but heavily warped film may need professional handling.
It also helps to organise the strips before you begin. Keep them in order, note any dates or locations if you know them, and separate black and white from colour negatives. This saves time later when naming files and correcting tones.
Scanner settings that make the biggest difference
This is where many scans go wrong. The default setting is often chosen for speed, not quality.
Set the scanner to film or negative mode, not document mode. Choose the correct film type, because colour negatives, black and white negatives and slides all need different handling. If the software allows it, scan at a resolution that suits the job. For 35mm negatives, 2400 dpi is often a sensible minimum for good general use, while 3200 to 4000 dpi gives more flexibility for cropping and larger prints.
Higher is not always better. Very high advertised dpi figures can create larger files without adding real detail. What matters is usable optical resolution, not the biggest number on the box.
File format matters too. If you may edit the image later, save a master copy as TIFF. If you just want easy storage and sharing, JPEG is fine, but it gives you less room to correct mistakes afterwards.
How to scan old negatives with better colour and detail
When people ask how to scan old negatives well, they are usually really asking how to avoid muddy colour, orange casts and soft-looking results. A few small choices make a big difference.
First, do not rely on heavy automatic correction for every frame. Some software boosts contrast too much or clips detail in bright areas. Start with a natural-looking scan and make lighter adjustments afterwards.
Second, use dust and scratch reduction carefully. Infrared cleaning can work very well on colour film, but it is not always suitable for traditional black and white film. If used too aggressively, it can soften detail.
Third, check focus and film placement. If the negative is not sitting at the right height in the holder, even a good scanner can produce a disappointing result. Soft scans are not always caused by old film. Sometimes the setup is simply slightly off.
Editing after scanning
Even a good scan often needs minor correction. Old negatives can shift in colour over time, and underexposed film may scan dark. Basic editing such as adjusting exposure, contrast, white balance and dust spotting can improve the final image noticeably.
Try not to over-process. Family photos usually look better when they still resemble the original scene, rather than being pushed into harsh contrast or very bright colours. If you plan to order prints, a balanced edit tends to give the most reliable result.
Cropping is also worth considering. Negative edges, film borders and holder shadows can sneak into the scan. A clean crop makes the image easier to archive and print.
When home scanning is enough, and when it is not
If you have a handful of recent 35mm negatives in decent condition, home scanning is often straightforward. It gives you control, and for many everyday family photos, the results will be more than good enough.
If you have hundreds of strips, unusual formats, badly faded colour film or negatives you cannot risk damaging, the balance changes. The time spent cleaning, scanning, naming and correcting files can add up quickly. In that situation, a professional photo lab is often the more efficient option.
For many customers, the real question is not whether they can scan old negatives themselves. It is whether they want to spend the time doing it, especially if the images matter and need to be right first time.
Common mistakes to avoid
The biggest mistake is scanning too low and realising later the files are not usable for prints. Another is handling negatives roughly or trying to clean them with the wrong materials. It is also common to save only compressed files, then wish there was a better master copy for future editing.
Naming files properly is easy to overlook as well. A folder full of random scan numbers becomes difficult to sort once you have hundreds of images. A simple system based on date, roll number or family event makes life easier.
If you are preserving older family images, treat the first scan as your archive version. You can always make smaller copies later for social media, email or photo gifts.
Old negatives often contain better images than people expect. With the right scanner, sensible settings and careful handling, you can turn those thin strips of film into clear, printable digital photos that are much easier to keep, share and enjoy. If the job feels bigger than you want to tackle at home, a trusted UK photo lab such as Photo Zone can take care of the scanning for you and help ensure those memories are preserved properly.